TEL:042-573-1530

Navigation
Documentation
Installation Instructions
- Unzip this file in your site's packages/ directory.
- Login to your site as an administrator.
- Find the "Add Functionality" page in your dashboard.
- Find this package in the list of packages awaiting installation.
- Click the "install" button.
Page Background
The Page/Video background attribute is similar to the banner attribute but is only present in the home pagetype. This attribute accpets background images and videos (.mp4 and .webm) that streches over the whole viewport and is behind the banner area. So applying a banner on the home pagetype overlaps the page/video background. A better way to synergies both the banner and page/video background is to use the page/video background as the background and the banner as the overlay (transparent textures) or opacity control (black background with transparency set to 50%). You can view this effect on the homepage. See below the steps to add the page background attribute
- Put your site on edit mode.
- Click settings (Cog icon upper left).
- Click Attribute.
- Locate "Page Background" option at the very bottom and click it.
- An image selection box should appear on the right.
- Choose image to add or replace the page background.
Fullpage image slider
Before you add the image slider on the banner area, make sure there are no layouts to let the slider occupy the full width of the page
- Put your site on edit mode.
- Click settings (Cog icon upper left).
- Add Image Slider Block
- Fill necessary fields and save. Reload page
- Click on the Image slider and apply the c5box full slider custom template
- Save, publish, and reload
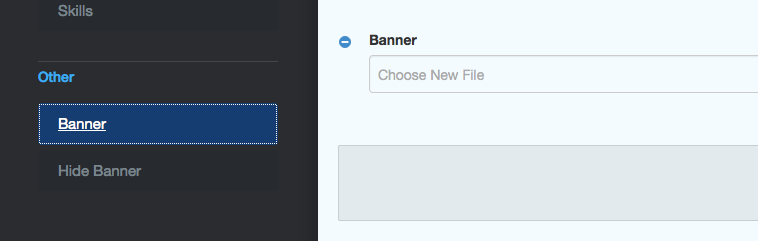
Changing Banners
- Put your site on edit mode.
- Click settings (Cog icon upper left).
- Click Attribute.
- Locate "Banner" option at the very bottom and click it.
- An image selection box should appear on the right.
- Choose image to replace banner.
- Save changes and publish page
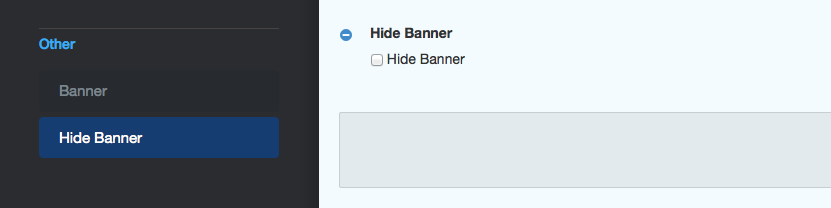
Removing Banners
- Put your site on edit mode.
- Click settings (Cog icon upper left).
- Click Attribute.
- Locate "Hide Banner" option at the very bottom and click it.
- Tick the checkbox.
- Save changes and publish page.
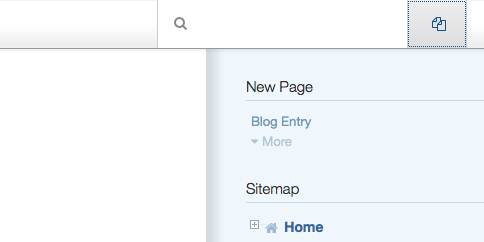
Creating Blog / Team
This theme has sample content. The sample content has a built in blog that has been configured to help end users get a blog page up and running in no time.
To create a blog, locate the icon with two pages on the upper right part of your screen and select "Blog Entry". You should then be taken to the page composer. Fill all the required options. Make sure to select a path where your blog post should go. Click save and publish.
Similar steps apply when creating team page
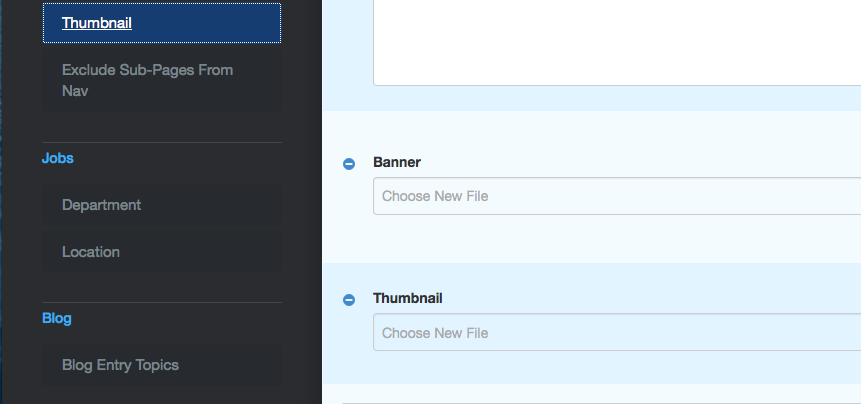
Adding Image to Pagelist
When you create a blog post you will automatically have the option to select an image as a thumbnail on the composer form. But what if you want to add pagelist images to pages that are not created using blog entry? Here are the steps:
- Put your site on edit mode.
- Click settings (Cog icon upper left).
- Click Attribute.
- Locate "Thumbnail" option for 5.7.4.1 and earlier. But if your version is below 5.7.4.1 the option is named "Pagelist thumbnail".
- Click the option and an image select box should appear on the right
Using Autonav Templates
Add an autonav to the body of your page. Once the autonav is on the page click on it and click "Design & Custom Templates". See below
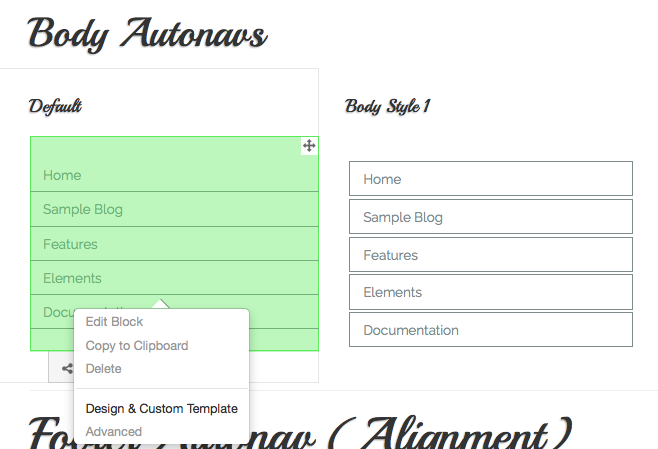
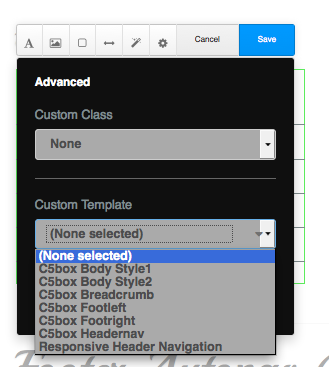
This should open up another set of icons that will help you customize the autonav block. Click on the cog icon and you should see a select box for custom templates. Here, you can choose the appropriate custom block for your autonav block. For more information about the autonav blocks click here : Autonav Custom Templates
Using Pagelist Templates
Pagelist templates are pretty awesome! Using them is similar to how you would add an autonav template to an autonav block (See above). There are 8 pagelist custom templates and the best way to show you how they look is to click here: Pagelist Templates
- Drag a pagelist block to your page and input necessary settings and save.
- Click on it and select "Design & Custom Templates".
- Click the cog icon.
- Select a custom template. Reference: Pagelist Templates.
Using Feature Templates
The feature block is a block used to display an icon and a content. In itself, the feature block is pretty good but with the c5box feature template it adds another level of depth to your design.
- Drag a feature block to your page and input necessary settings and save.
Page Title and Social Icons
Page title and social icons are custom templates used to enhance how your blog post will look. See sample blog post pages to see the templates in action.
Basically the page title custom template will display the title with a corresponding date and author and the social icon custom template will add a round design to the default social icon block.
Color Customization

株式会社 河西
〒186-0004
東京都国立市中1-9-62
JR中央線 国立駅南口 徒歩3分
TEL:042-573-1530
FAX:042-573-1528
営業時間:10:00~18:00
定休日:日曜、第1・3月曜
![]()
![]()
![]()